Twin Six: Not your Standard Rando

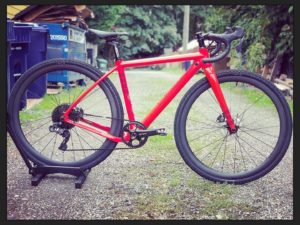
The word covet is a great start to describe how you should feel about this bike. Look closely at the graph, though. There seems to be an upward trend again just after 2010. Granted, the graph may not be to scale, but it’s clearly a precise representation of how use of the word covet is at an all time high. Correlation is not causation, but this is fairly damning evidence.


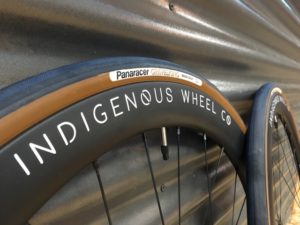
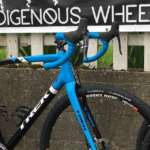
Enough embellishment, let’s get to the build. I was happy to have this bike shipped directly to the Indigenous Wheel Co shop. It avoids the frustration of missed packages that need to be signed for, and the possibility that significant others to start ask questions as to why there is a new bike in the house (for another few days, anyway).
I have never seen such care taken in the packaging of a bike before. Feet upon feet of bubble wrap lining every bit of the frame, wheels, and cockpit. There was not a single scratch on this frame or its components, already making it a good start to this build.
As for the bike, it was about 90% built. By this I mean it was a fully functioning machine at one point and then taken back down for packing and shipping. However, things happen during the build, disassembly, and shipping. All the little details should be looked at again to make sure everything is running as smoothly as possible. That’s where I come in.

Step 1: Remove cranks and BB | Step 2: Spray a lot of this into frame and fork | Step 3: Wait for it to dry | Step 4: Do not leave near open flames.
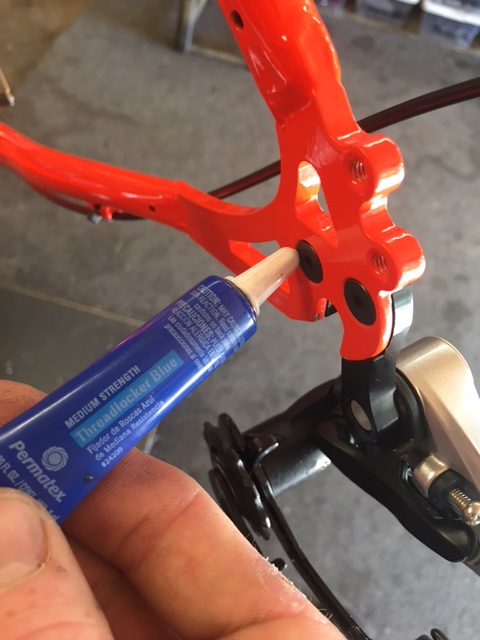
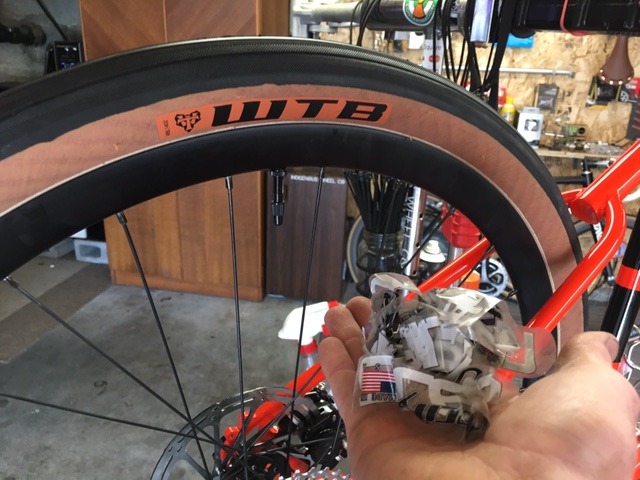
Every bolt was removed and grease was applied. Blue Loctite was used on the derailleur hanger and fender bolts. The hanger was aligned to the frame to make sure the shifting was as seamless as possible. Lastly, decals on the rims were removed because it just makes for a clean looking finish all around.
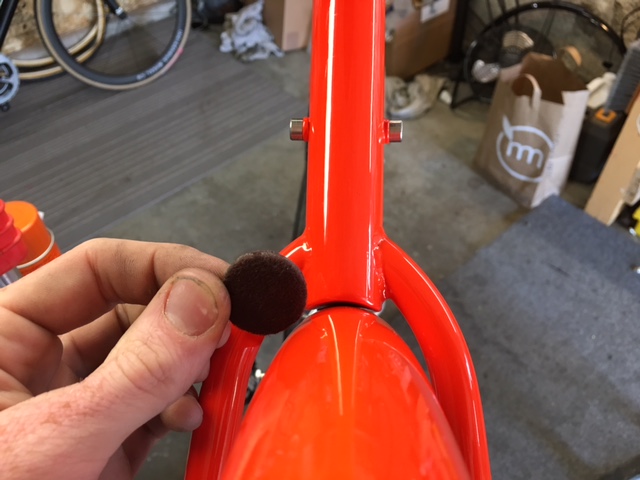

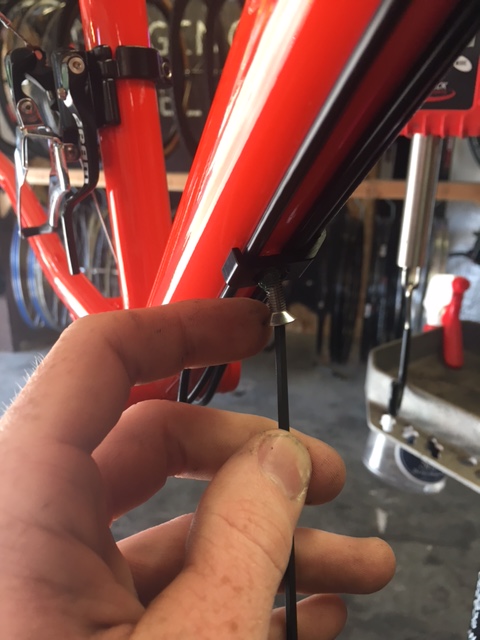
A furniture felt pad works out very well to help quiet the inevitable vibrations that will come from long, dusty, and gravel filled rides.

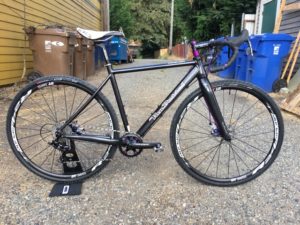
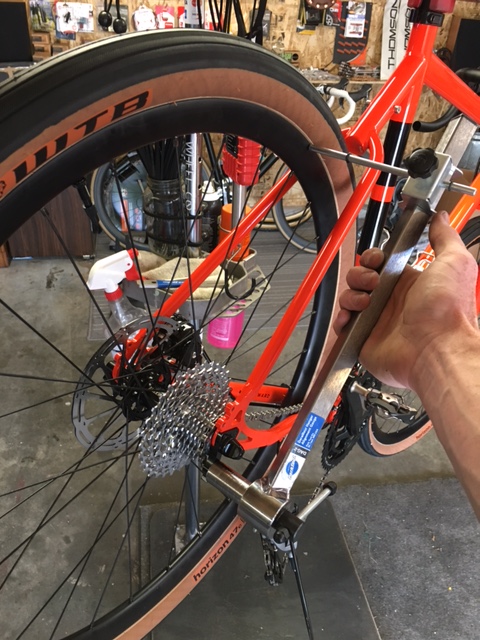
Mid way through the build.

28mm deep, 24mm wide, tubeless ready, Velocity Aileron Rims are stout and fast.

Things are coming together nicely.
The build came along very nicely and there were no proprietary parts to deal with, always a plus in my book.
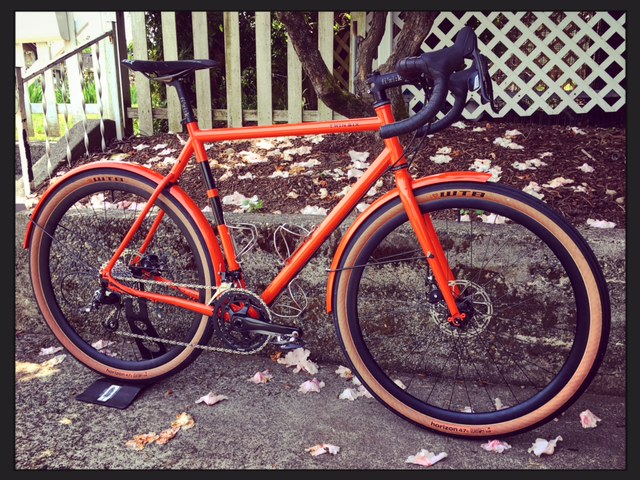
Here are a few more shots of the completed build.

Painted to match fenders are always nice to look at.

Full housing to keep things dialed for the long haul.

More water capacity than a camel.

Solid drivetrain that won’t bankrupt you.

A closer look at the routing.

A beautiful head badge adorning an already beautiful bike.

The final product.
The final build for this 55cm build came out at 27lbs with pedals, fenders, cages, and tubeless. It’s not exactly the lightest around, but from the perspective of its intended use, you’ll never worry about your bike. It’ll just give you more thought on where you want to go.
Congrats to the new owner and I swear I’ll keep his new bike a secret.
To check out frame or build options, check out the Twin Six website here.
 Previous Post
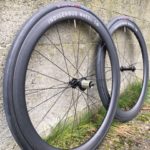 Next Post